
Floppy, pointy, wrinkly – each dog’s adorable set of ears comes in their own unique shape and size. And while the frequency may vary, one thing they do all have in common is their ears need to be cleaned..
Ear health is essential, and cleanliness of a dog’s ears is important to help ward off any infections. Because your dog can’t do it on their own, it’s up to you to clean your dog’s ears and ensure they stay healthy. So how, and how often, should you be cleaning your pups ears? Thankfully, it’s a pretty easy task. Read on to find out exactly how to care for your furry friend’s ears to keep them healthy, happy, and hearing properly.
Contents
Why Ear Cleaning is Important
Certain breeds, like Basset Hounds, Chinese Shar Pei, Labradoodle, Beagle and Golden Retrievers, are more prone to ear infections than other breeds. With regular ear cleaning – which means about once per month – you can help your dog avoid future infections.
That’s because, as VCA Hospitals explains, “the structure of your dog’s ear canal makes it difficult for material trapped deep within the horizontal canal to be expelled without the assistance of cleanings.” Trapped material leads to itchiness, and ultimately an ear infection, if not cleaned.
However, keep in mind that too much ear cleaning can not only lead to irritation, but also cause permanent damage to your dog’s ear canal, so it’s important to take proper care when cleaning your dog’s ears, and try not to do it too often no matter how prone to infection they may be.
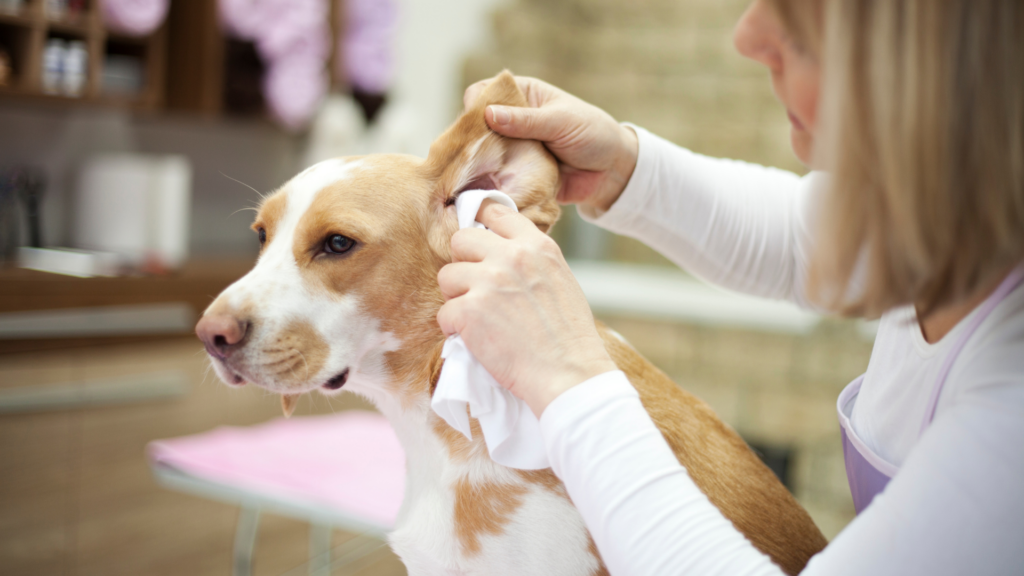
How to Properly Clean Your Pups Ears
Step 1 – Gather Your Supplies

The good news is that cleaning your dog’s ears is pretty easy, and doesn’t require any special tools. Here’s all you’ll need to get the job done:
- A vet-approved ear cleaning solution (you can find some of our favorites on Amazon)
- Cotton balls or gauze
- Treats (to reward your dog and keep them distracted)
- Your dog 🙂
Supplies You Should Not Use
While it may seem like the easier route, do not, under any circumstances, put a q-tip into your dog’s ear, Q-Tips not only push debris further into the ear canal, but can also perforate your dog’s eardrum.
It’s also worth noting that you should not use hydrogen peroxide or alcohol, as they can cause irritation within the ear canal, especially if there’s already an infection.
Step 2 – Pour the Ear Cleaning Solution in Your Dog’s Ears

Have your dog sit (distract them with a treat if needed) and follow the instructions on the ear cleaning solution bottle by filling the ear canal with the solution.
If your dog is having a tough time (it can be an uncomfortable feeling!), soak a cotton ball in some of the cleaning solution and then place the cotton ball inside your dog’s ear. Just be careful not to push the cotton ball fully inside their ear so you don’t damage their ear canal or cause cotton to enter the ear canal, which can lead to infection.
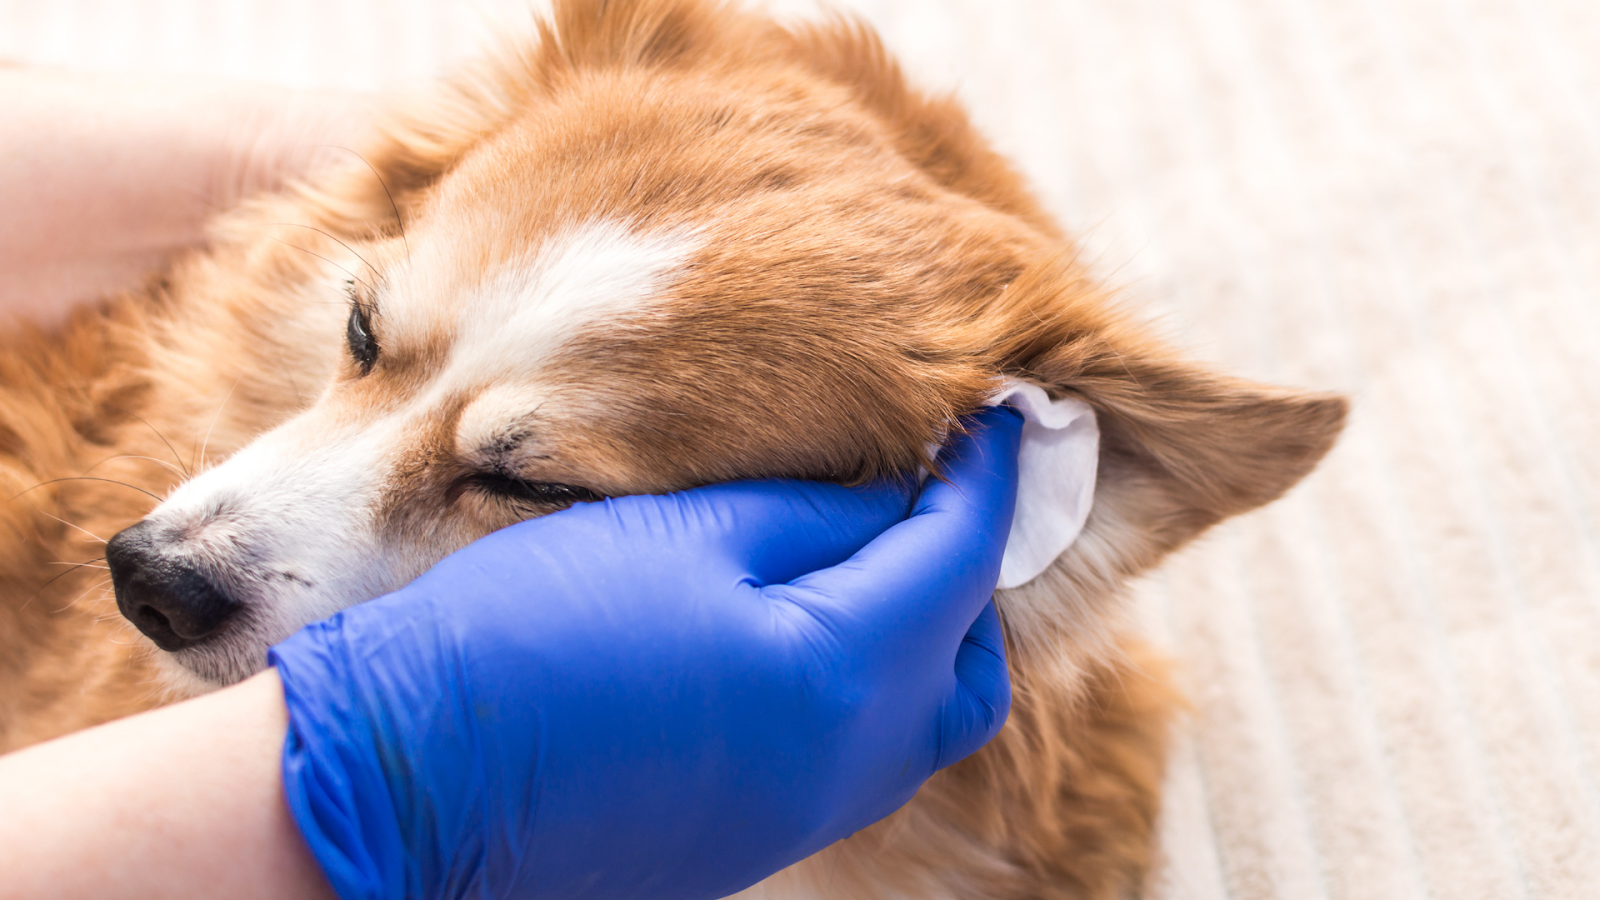
Step 3 – Massage

Massage the solution in by rubbing the base of your dog’s ear (right next to their head).
Step 4- Reward
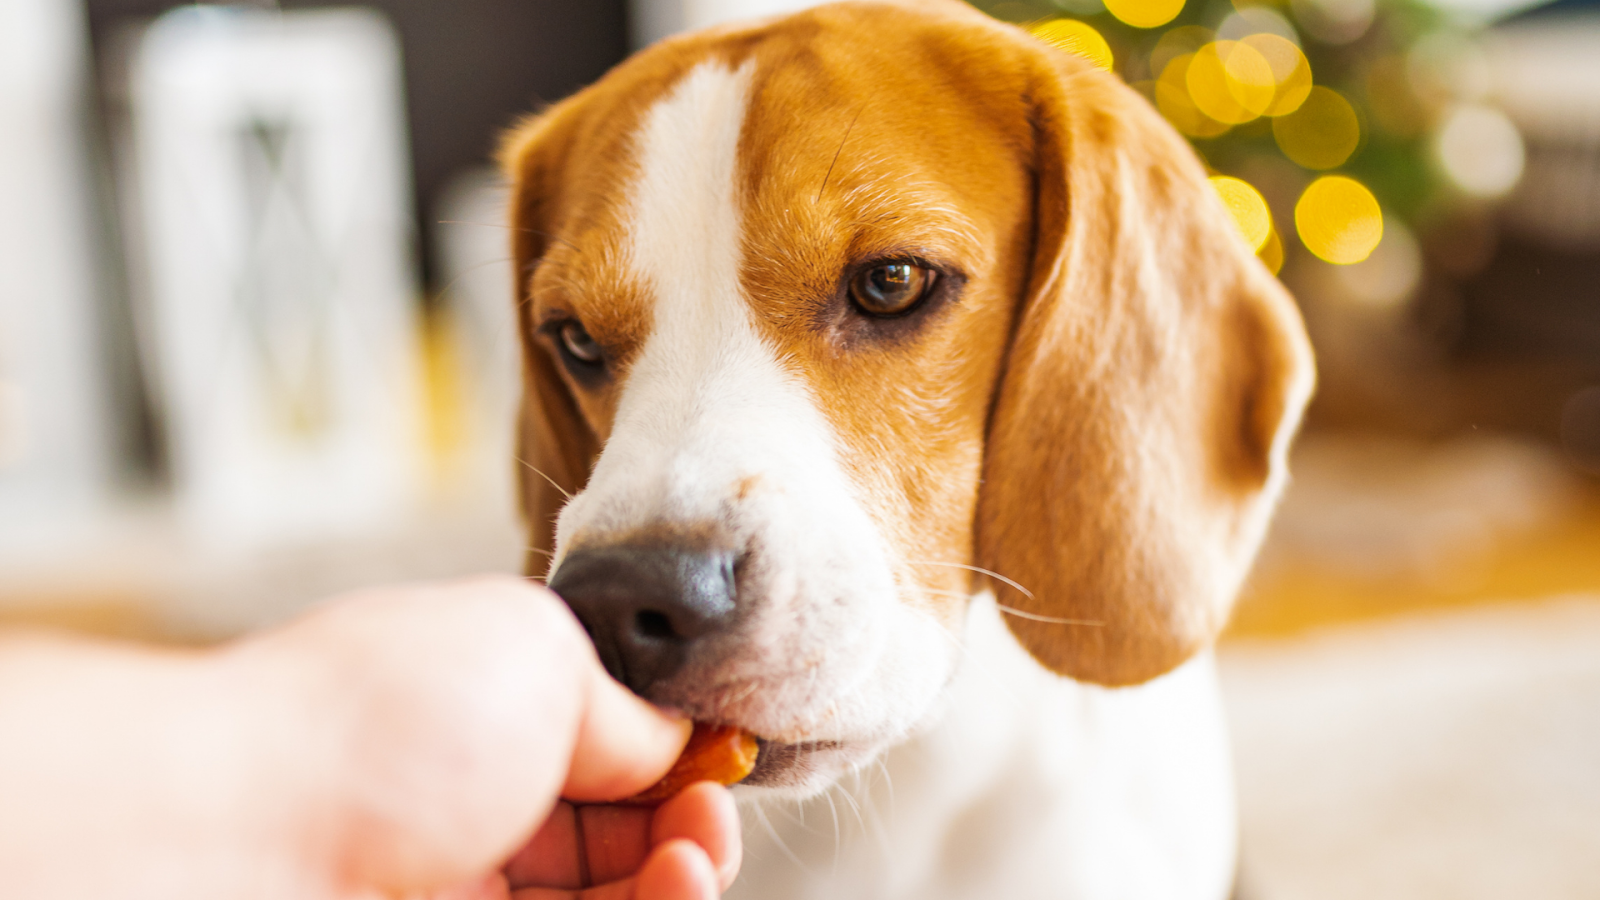
Give your pup a treat, wait a month, then repeat!
Finally, if your dog doesn’t enjoy getting their ears cleaned, and you’re having a difficult time, you can always make an appointment with your veterinarian or groomer to clean your dog’s ears.
If your dog is showing signs of an ear infection (like redness, constant shaking of the head, scratching at the ear, or overall discomfort ), contact your veterinarian and avoid cleaning their ears at the risk of worsening their infection or irritation until your vet tells you it’s safe.
